集成 vue 拆分 webpack 配置 由于我们要在环境中集成 vue,需要在本地进行调试 vue 代码,所以我们至少需要两套环境,一套 dev 配置,用来打开一个本地服务器;一套 prod 配置,用来打包 labreries,我们引入webpack-merge包,来拆分 webpack 配置。
webpack.common.js文件用来存放 dev 和 prod 共同存在的配置
webpack.dev.js用来存放 development 环境的配置
webpack.prod.js用来存放 production 环境配置
我们把webpack.config.js文件直接变为webpack.prod.js,然后在其中通过 webpack-merge 包,合并 common 与 prod 文件中的 webpack 配置:
1
2
3
4
5
6
7
8
9
10
11
12
13
14
15
16
17
18
19
20
21
22
23
24
25
26
27
28
29
30
31
32
33
34
35
36
37
38
39
40
41
const path = require ("path" );const { merge } = require ("webpack-merge" );const common = require ("./webpack.common" );prod = { mode: "production" , entry: "./src/yn-chart-middleware/index.js" , output: { filename: "ynChartMiddleware.js" , library: "ynChartMiddleware" , libraryTarget: "umd" , path: path.resolve(__dirname, "lib" ), }, optimization: { minimize: true , }, target: ["web" , "es5" ], module : { rules: [ { test: /\.m?js$/ , exclude: /(node_modules|bower_components)/ , use: { loader: "babel-loader" , }, }, ], }, externals: { echarts: { commonjs: "echarts" , commonjs2: "echarts" , amd: "echarts" , root: "_" , }, }, }; module .exports = merge(common, prod);
webpack.common.js文件可以暂时置空:
webpack.dev.js文件可以由webpack.prod.js文件复制得到;
然后我们使用webpack-dev-server包,用来在本地启动一个服务器调试环境。
修改 package.json:
1
2
3
4
5
"scripts" : { "test" : "echo \"Error: no test specified\" && exit 1" , "build" : "webpack --config webpack.prod.js" , "serve" : "webpack serve --open --config webpack.dev.js" },
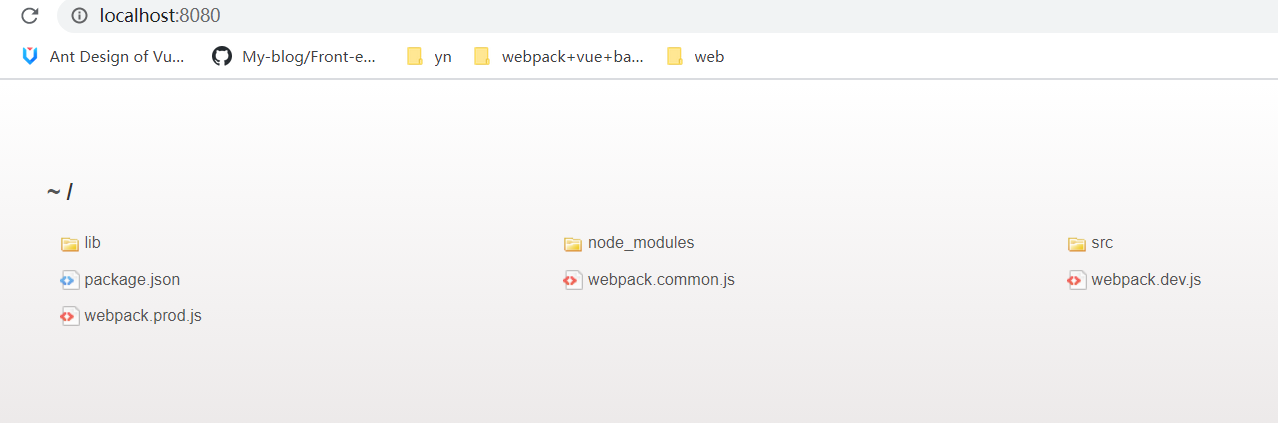
现在执行 npm run serve,即可打开一个本地服务。
如图:
由于当前未定义入口文件,所以本地服务器默认显示出了根目录下文件
配置开发环境 webpack 在通过 webpack-dev-server 包启动本地服务的时候,我们必须定义一个 html 的模板文件,用来将打包后的脚本引用添加到 html 文件中,为了方便,我们引入html-webpack-plugin包,为 webpack 自动集成 html 模板。同时,我们为 dev 下定义入口文件和出口文件,入口文件会被打包成 output.filename 定义的 js,自动被引用到html-webpack-plugin生成的 html 模板中。
1
2
3
4
5
6
7
8
9
10
11
12
13
14
15
16
17
18
19
20
21
22
23
24
25
26
27
28
const path = require ("path" );const { merge } = require ("webpack-merge" );const common = require ("./webpack.common" );const HtmlWebpackPlugin = require ("html-webpack-plugin" );const dev = { mode: "development" , entry: "./src/index.js" , output: { filename: "[name].bundle.js" , path: path.resolve(__dirname, "dist" ), }, devServer: { contentBase: path.join(__dirname, "dist" ), }, optimization: { minimize: false , }, target: ["web" , "es5" ], plugins: [ new HtmlWebpackPlugin({ template: path.resolve(__dirname, "public/index.html" ), }), ], }; module .exports = merge(common, dev);
这里解释一下path.resolve()方法,path 是 node 原生提供的模块,该方法根据运行环境不同会有不同的表现。path.resolve()会把参数中的路径合并成一个绝对路径,__dirname会获得当前执行文件所在目录的完整目录名,path.resolve(__dirname, "public/index.html")会获取当前执行文件同级目录下 public 文件夹下 index.html 文件。在该项目下,路径会解释为/public/index.html
如果我们在 public 下定义的 index.html 文件为:
1
2
3
4
5
6
7
8
9
10
11
12
<!DOCTYPE html > <html lang ="en" > <head > <meta charset ="UTF-8" /> <meta name ="viewport" content ="width=device-width, initial-scale=1.0" /> <meta http-equiv ="X-UA-Compatible" content ="ie=edge" /> <title > Document</title > </head > <body > <div id ="app" > hello</div > </body > </html >
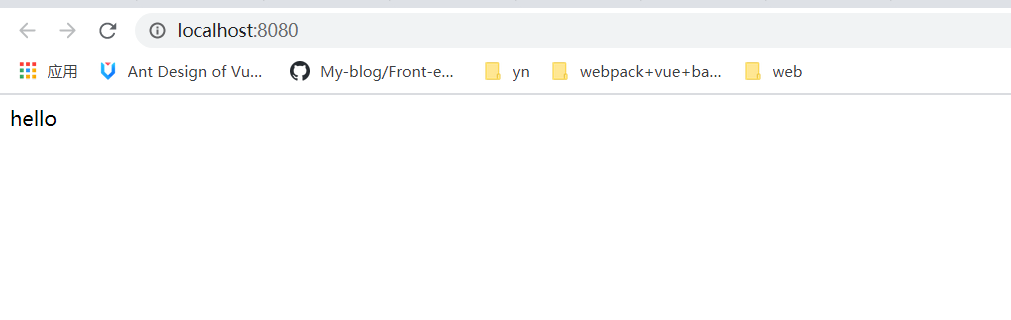
那么当我们执行npm run serve后,可以得到:
集成 vue 在 webpack 中使用 vue,需要用到两个包: vue-loader,vue-template-compiler,其中vue-loader用来转换 vue 的单文件语法,可以用来解析.vue格式文件,vue-template-compiler用来编译模板为渲染函数(template => ast => render)
1
2
3
4
5
6
7
8
9
10
11
12
13
14
15
16
17
18
19
20
21
22
23
24
25
26
27
28
29
30
31
32
33
34
35
36
37
38
39
40
const path = require ("path" );const { merge } = require ("webpack-merge" );const common = require ("./webpack.common" );const HtmlWebpackPlugin = require ("html-webpack-plugin" );const { VueLoaderPlugin } = require ("vue-loader" );const dev = { mode: "development" , entry: "./src/main.js" , output: { filename: "[name].bundle.js" , path: path.resolve(__dirname, "dist" ), }, devServer: { contentBase: path.join(__dirname, "dist" ), }, optimization: { minimize: false , }, target: ["web" , "es5" ], module : { rules: [ { test: /\.vue$/ , use: { loader: "vue-loader" , }, }, ], }, plugins: [ new HtmlWebpackPlugin({ template: path.resolve(__dirname, "public/index.html" ), }), new VueLoaderPlugin(), ], }; module .exports = merge(common, dev);
然后我们在 src 中定义 vue 入口
新建src/main.js,src/App.vue文件
1
2
3
4
5
6
import Vue from "vue" ;import App from "./App.vue" ;new Vue({ render: (c ) => c(App), }).$mount("#app" );
1
2
3
4
5
6
7
8
9
10
11
<template> <div>hello</div> </ template><script> export default { data() { return {}; }, }; </script> <style scoped></ style>
然后在 webpack 中定义入口文件为src/main.js,运行npm run serve即可看到 vue 文件被正确解析。
最后的 package.json:
1
2
3
4
5
6
7
8
9
10
11
12
13
14
15
16
17
18
19
20
21
22
23
24
25
26
27
28
29
30
31
32
33
34
35
36
37
38
{ "name" : "test" , "version" : "1.0.0" , "description" : "test" , "main" : "index.js" , "files" : [ "lib" ], "scripts" : { "test" : "echo \"Error: no test specified\" && exit 1" , "build" : "webpack --config webpack.prod.js" , "serve" : "webpack serve --open --config webpack.dev.js" , "dist" : "webpack --config webpack.dev.js" }, "keywords" : [ "test" ], "author" : "guan" , "license" : "ISC" , "devDependencies" : { "@babel/core" : "^7.13.8" , "@babel/preset-env" : "^7.13.9" , "babel-loader" : "^8.2.2" , "core-js" : "^3.9.1" , "html-webpack-plugin" : "^5.3.1" , "vue-loader" : "^15.9.6" , "vue-template-compiler" : "^2.6.12" , "webpack" : "^5.24.3" , "webpack-cli" : "^4.5.0" , "webpack-dev-server" : "^3.11.2" , "webpack-merge" : "^5.7.3" }, "dependencies" : { "echarts" : "^5.0.2" , "number-precision" : "^1.5.0" , "vue" : "^2.6.12" } }
参考资料 webpack 手册